
Properly fitting A5512 heat moldable inserts is not super difficult, but is extremely important in ensuring the best possible fit for your patient. Below is a step by step breakdown in how to do so.
Step 1:
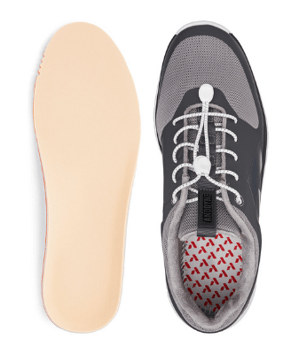
Verify the fit of the shoes and inserts. Making sure the patient’s inserts are the proper size will avoid any unnecessary returns or do-overs.
Step 2:
Before heating the inserts, make sure the patient is seated properly. Usually this is achieved by having the patient sit towards the edge of their seat, in a neutral position, which will allow proper weight distribution while molding.
Step 3:
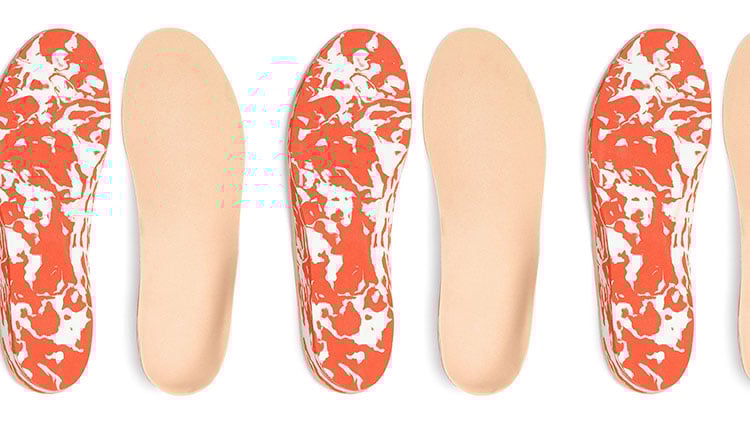
To start, place the insert on a surface that won’t conduct head, like a piece of cardboard. Place the insert so the bottom is facing upward. With a heat gun, start heating up the insert with a focus on the arch and forefoot. It’s important to note that the heat gun must reach at least 230 degrees Fahrenheit to adhere to Medicare guidelines for reimbursement.
Step 4:
Flip over the insert to the other side so the top is facing up. Heat this side of the insert with a focus on the arch and forefoot again. Once the insert starts to curl a bit on the sides, you will know the insert has been properly heated for fitting.
Step 5:
Place the insert under the patient’s foot. Make sure the patient is wearing a sock while doing this. Take your hand on the midpoint of the patient’s foot and push down. Also, have the patient lean forward to put a little extra pressure on the forefoot. Make sure the patient holds this position for about 90 seconds.
Step 6:
Repeat this process for all 3 pairs of inserts (6 total units) before they are dispensed.
Here is a video demonstrating the proper technique.
It’s vital that your patient’s orthopedic shoes and inserts fit properly. If you have additional questions on steps to heat mold A5512 diabetic inserts, feel free to call 1-844-637-4637 or email info@anodyneshoes.com.

.png?width=116&name=Anodyne_circle_1_logo%20(2).png)